Overview
Expense Tracker is the secure, efficient financial application for the keyboard enthusiast. Boasting such features as daily tips, statistics, expense management and budget setting, Expense Tracker equips users with the necessary tools to become a better saver.
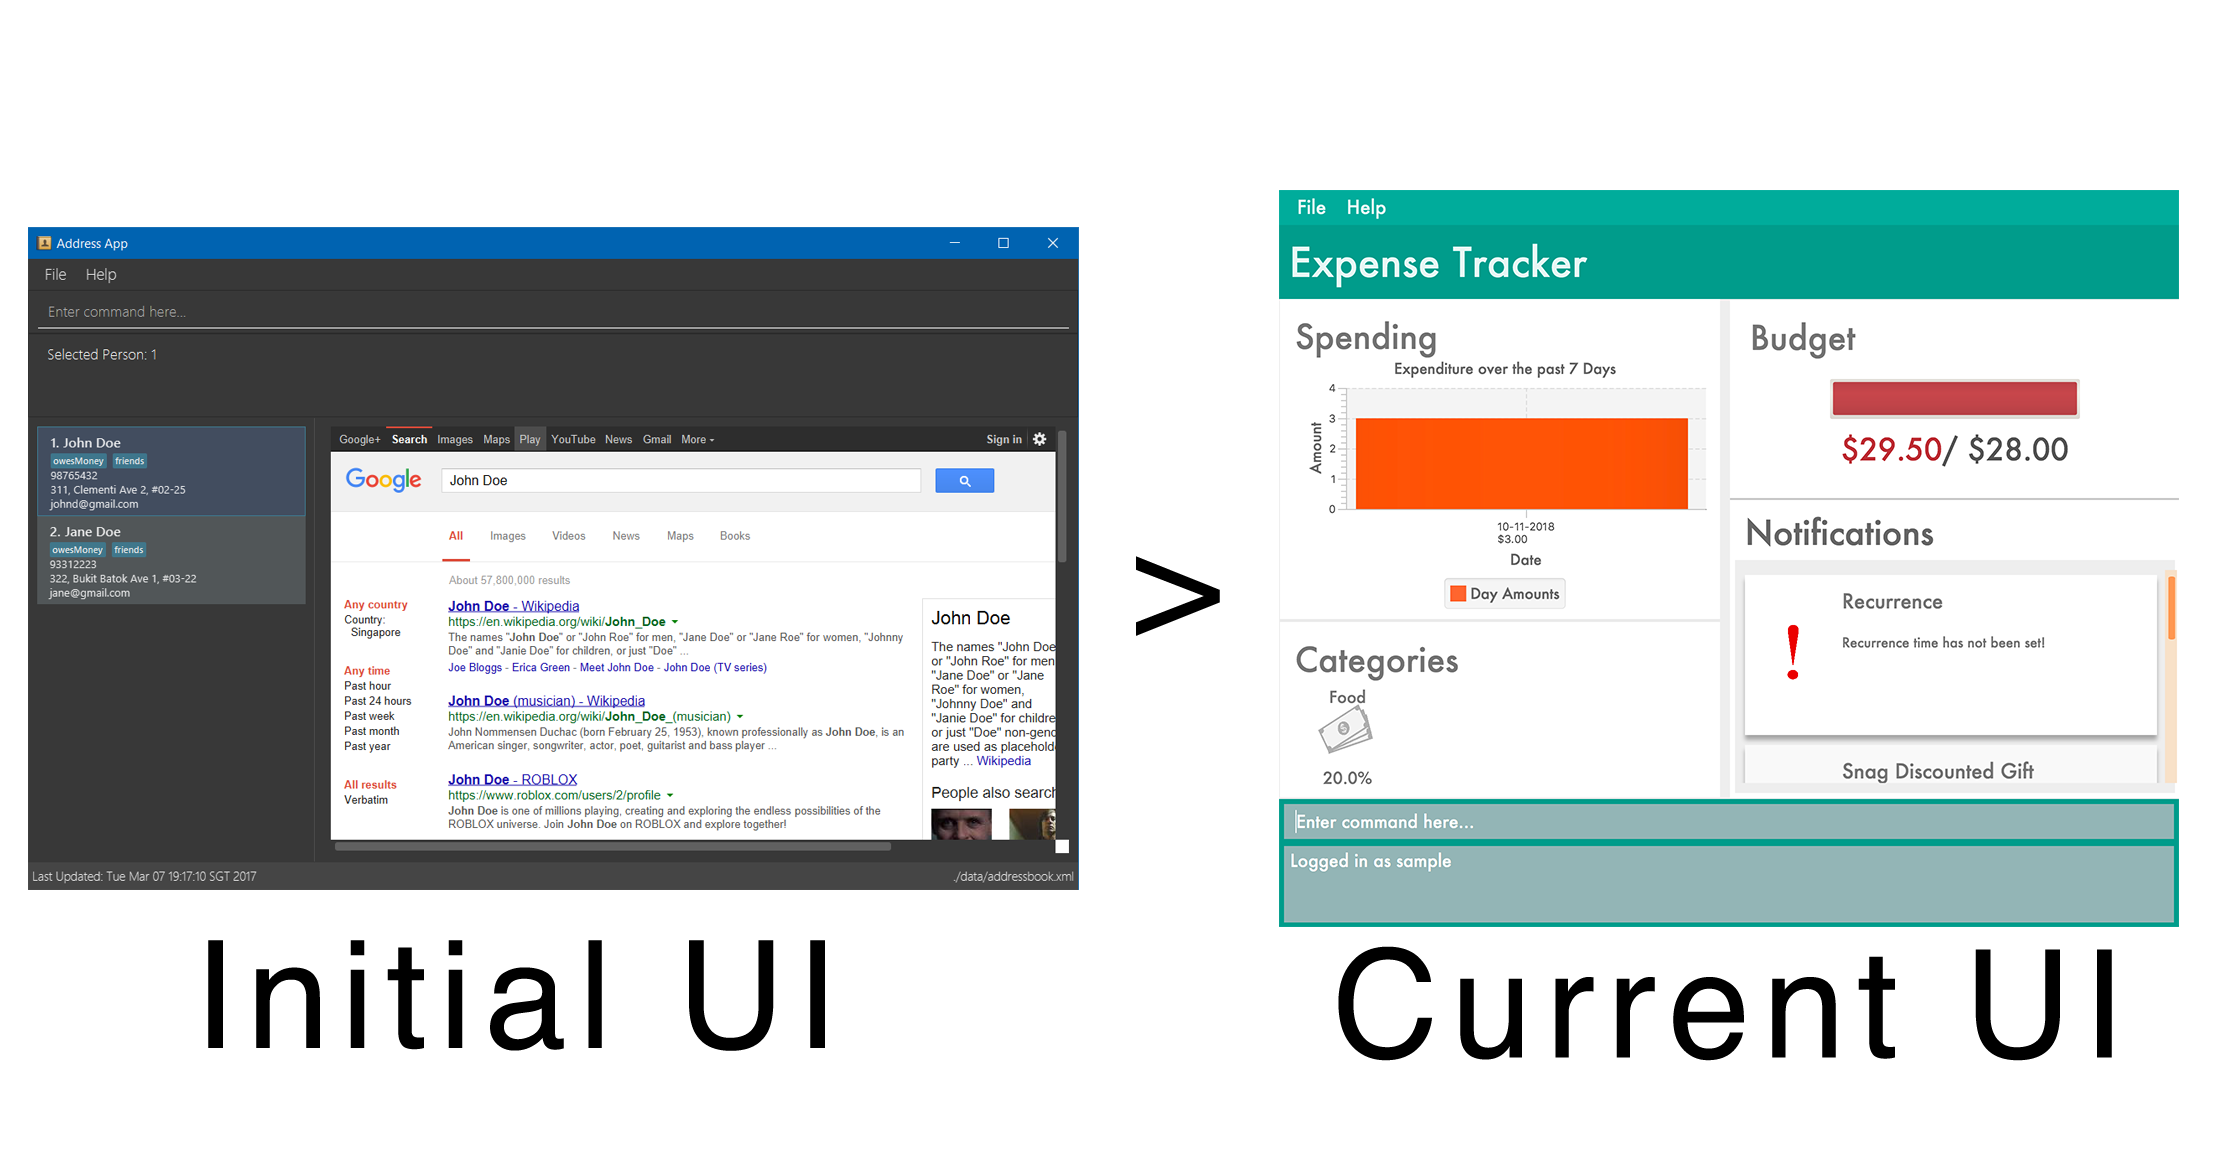
Morphed from the Address Book application, Expense Tracker was developed for an NUS Software Engineering module (CS2103T) under several constraints. Due to said constraints, Command Line Interface (CLI) became the main mode of interaction with the application. However, to ensure user friendliness, a Graphical User Interface (GUI) has been implemented.
This portfolio is a documentation of my contributions to Expense Tracker.
Summary of contributions
Major Enhancement: Implementation of GUI elements for newly added features
What It Does
-
Displays the user’s expenditure information on the GUI. This includes their notifications, monthly budget, monthly expenses and budgets for categories. The Notification System in particular was entirely implemented by me. The feature generates and displays daily saving tips and warnings if the user is about to spend or have spent over their budget.
Justification
-
A well-designed and responsive user interface is able to maximize user experience and allows Expense Tracker to stand out amongst the sea of financial applications.
-
I predict that there will be a subset of users who use Expense Tracker because they have trouble maintaining a budget. The Notification System was implemented to help said users by monitoring their budget management and providing general knowledge about saving money.
Highlights
-
Creativity and many design considerations were required to get the Expense Tracker GUI to look and function as I had envisioned.
-
Additional features such as animation and dynamic changing of text color were also implemented for the GUI for improved visual feedback.
-
The implementation of the Notification System, in particular, was challenging as it involved making additions and modifications to all components of Expense Tracker.
Minor enhancements:
-
Implemented the
notificationcommand which allows users to toggle the option for automated notification sending. -
Completely overhauled the CSS styling of the application.
-
Implemented other minor animations to existing features such a fade-in effect of GUI elements upon login.
-
Added color to
Tags.
Code contributed: Reposense Compilation
Other contributions:
-
Documentation:
-
Community:
Contributions to the User Guide
Given below are sections I contributed to the User Guide. They showcase my ability to write documentation targeting end-users. |
Toggling Notifications: notification
Toggles the ability of Expense Tracker to generate and display automated notifications.
There are 2 types of notification to toggle:
-
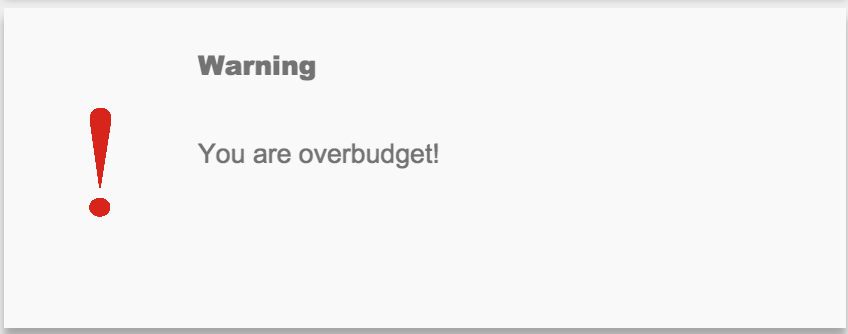
Warning - Referenced by
warningas theNOTIFICATION_TYPEparameter. These notifications will be sent when you are over or about to go over your budget. -
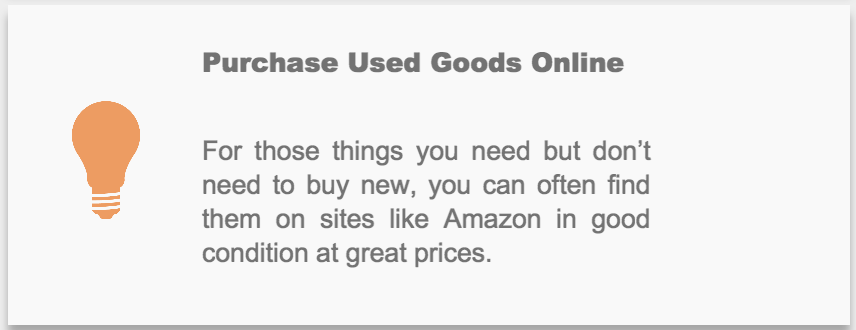
Tip - Referenced by typing
tipas theNOTIFICATION_TYPEparameter. These notifications are saving tips that will be sent once every 24 hours when you log onto an account.
As shown below, Warning-type Notifications can be indicated by exclamation mark image displayed along with the notification:
Meanwhile, Tip-type Notifications can be indicated by light bulb image displayed along with the notification:
There are two toggle options, on and off, which can be indicated by 'on' or 'off' respectively in the TOGGLE_OPTION parameter.
TOGGLE_OPTION is a required parameter. NOTIFICATION_TYPE can be omitted.
Format: notification n/NOTIFICATION_TYPE t/TOGGLE_OPTION
|
Contributions to the Developer Guide
Given below are sections I contributed to the Developer Guide. They showcase my ability to write technical documentation and the technical depth of my contributions to the project. |
User Interface Redesign
The UI has been redesigned to implement the following UI elements required for Expense Tracker:
-
Budget Panel
-
Statistics Panel
-
Notifications Panel
-
Categories Panel
As an example of how the new UI elements were implemented, we will examine the implementation of BudgetPanel.
The Budget Panel
BudgetPanel consists of 4 UI elements:
-
BudgetPanel#expenseDisplay– ATextelement that displays the user’s current expenses. -
BudgetPanel#budgetDisplay– ATextelement that displays the user’s monthly budget cap. -
BudgetPanel#percentageDisplay- ATextFlowobjects that managesBudgetPanel#budgetDisplayandBudgetPanel#expenseDisplay. -
BudgetPanel#budgetBar– AProgressBarelement that visually presents the percentage of the currenttotalBudgetcap that has been used.
Given below are the steps of an example scenario of how BudgetPanel is updated:
-
The user launches the application and signs up for a new account. The
MainWindowcreates a newBudgetPanel, which elements are initialized as follows:-
BudgetPanel#expenseDisplayis green and set to "$0.00". -
BudgetPanel#budgetDisplayis set to "/ $28.00", with $28.00 being the defaulttotalBudget. -
BudgetPanel#budgetBaris green and at 0% progress.
-
-
The user executes an
addcommand. As theaddcommand modifies budget and expenses,AddCommand#execute()will post aUpdateBudgetPanelEventevent to the EventsCenter.If a command fails its execution or does not affect budget or expenses, UpdateBudgetPanelEventwill not be posted. -
The
UpdateBudgetPanelEventevent is handled byMainWindow#handleBudgetPanelEvent(), which callsBudgetPanel#update(). -
BudgetPanel#update()callsBudgetPanel#animateBudgetPanel(), which creates a newTimelineobject. -
Two
KeyFrameobjects are added toTimeline, creating the animationBudgetPanel#budgetBarthat transits theBudgetPanel#budgetBar#progressto the updated number.If the updated percentage is more than 1.0, BudgetPanel#budgetBar#progresswill be set to 1.0. Barring oversights, it should never fall below 0.0. -
A call to 'BudgetPanel#addTextAnimationKeyFrames()` is made to add the
KeyFrameobjects required to create the incrementing animation forBudgetPanel#expenseDisplayandBudgetPanel#budgetCapDisplay. In eachKeyFrame,BudgetPanel#updateExpenseDisplay()andBudgetPanel#updateBudgetCapDisplay()is called to increment theBudgetPanel#expenseDisplayandBudgetPanel#budgetCapDisplayrespectively.The number of KeyFrameobjects and the time interval between eachKeyFramehas been predetermined. -
A call is also made to
BudgetPanel#alterTextSize()in eachKeyFrame. This method checks the height ofBudgetPanel#percentageDisplay. If said height is different fromBudgetPanel#percentageDisplay#maxHeight,BudgetPanel#percentageDisplaywill be rescaled accordingly such that its new width is equal toBudgetPanel#percentageDisplay#maxHeight. -
A call to
Timeline#playFromStart()is made to execute the animations. -
A call is also made concurrently to
BudgetPanel#setBudgetUiColors(). IfBudgetPanel#expenseDisplayis larger thanBudgetPanel#budgetCapDisplay, the color ofBudgetPanel#expenseDisplayandBudgetPanel#budgetBarchanges to red, indicating that the user is over budget.Similarly, if the user has gone from over budget to under budget, the color of 'BudgetPanel#expenseDisplay` and BudgetPanel#budgetBarchanges to green.
The following sequence diagram shows the process of updating the BudgetPanel UI elements:

BudgetPanel updateDesign Considerations
Aspect: Choosing which library to use for animation implementation
-
Alternative 1 (current choice): Use
TimelineandKeyFrameclasses.-
Pros: More flexible; Able to create the animation frame by frame.
-
Cons: More tedious to implement. Animations effects will require manual addition of
KeyFrameobjects for the intended effect.
-
-
Alternative 2: Use the
Transitionclass-
Pros: The class is specialized, and thus has built-in methods to create better animations For example,
EASE-BOTHcan be used to cause the transition to accelerate at different points for a better effect) -
Cons: Does not work for certain desired effects, such as the 'incrementing' effect required for
Textelements ofBudgetPanel.
-
Aspect: Implementation of Text elements
-
Alternative 1 (Initial Choice): Use two
Labelobjects; one to displaycurrentExpensesand another to displaybudgetCap.-
Pros: Allows the implementation of separate text color changing and animation.
-
Cons: Difficult to keep both text objects centralized in relation to the
budgetBar, especially ifcurrentExpensesorbudgetCapare large numbers.
-
-
Alternative 2: Use one
Textobject to display bothcurrentExpensesandbudgetCap.-
Pros: Easy to centralize the
Textobject withbudgetbar. -
Cons: Implementation of animation was messy and tedious.
JavaFXalso does not support multiple colors for a singleTextobject.
-
-
Alternative 3 (Current Choice): Wrap two
Textobjects in aTextFlowobject-
Pros: Easy to centralize the
Textobjects by taking advantage of the properties ofTextFlow. Allows the implementation of separate text color changing and animation. -
Cons: Does not solve the issue of decentralized text when
currentExpensesorbudgetCapare large numbers.
-
Aspect: Solving the issue of TextFlow positioning when currentExpenses or budgetCap are large numbers.
-
Alternative 1: During the budget update, manipulate the font size of both
Textobjects when theTextFlowobject reaches a certain height.-
Pros: -
-
Cons: Difficult to adjust the fonts of both
Textobjects such that the final font size is neither too large nor too short.
-
-
Alternative 2: Manipulate the scale of the
TextFlowobject such that it always maintains a predetermined width.-
Pros: A solution that is simple and easy to implement.
-
Cons: In the case of very large numbers, the
TextFlowobject is shrunk down to a point where the text in non-legible. However, we assume that the average user who is seriously usingExpenseTrackerwill not setcurrentExpensesorbudgetCapto such large numbers.
-
Notification System
The Notification System is comprised of the following classes:
-
Notification- An abstract class that consists of aheader,typeandbody. There are two types ofNotification,TipNotificationandWarningNotification. -
NotificationPaneland NotificationCard- UI elements that displays the list the notifications that have been sent to the user. -
NotificationHandler- Manages the list of notifications. -
NotificationCommand- Allows the user to toggle what type of notifications they wish to receive. -
NotificationHandler- Handles the storage and creation ofNotificationobjects. -
Tips- Reads and storesTipobjects in a list. -
XmlAdaptedNotificationHandler,JsonTipsStorageandXmlAdaptedNotificationHandler- Manages the saving and reading onNotificationandTipobjects.
Adding a Notification
Given below are the steps of an example scenario of how the Notification System functions:
-
The user launches the application for the first time. A new
NotificationHandleris instantiated. A newTipsobject is instantiated, and a call toJsonTipsStorage#readTipsis made to read a list ofTipobjects from a JSON file. -
A call to
NotificationHandler#isTimeToSendTip()is made upon login. In turn, a check is made to see if it has been 24 hours since the lastTipNotificationhas been sent. It also checks ifNotificationHandler#isTipEnabledistrue. If both conditions are met, a new `TipNotificationis added to theNotificationHandler#internalListvia a call toNotificationPanel#addTipNotification().If this is the user’s first time logging into their account, a new TipNotificationwill be sent. -
The user executes the command
add n/Lunch $/30.00 c/Food. Theaddcommand callsNotificationHandler#isTimeToSendWarning()to check if the user is nearing or over their budget. It also checks ifNotificationPanel#isWarningEnabledistrue. If both conditions are met, aWarningNotificationis added toNotificationHandler#internalListvia a call toNotificationPanel#addWarningNotification().The same procedure is carried out if the user executes an editcommand. -
If the size of
NotificationHandler#internalListreaches 11 or more, the oldestNotificationin the list is then replaced with the newNotification.
Executing Notification Command
Given below is an example scenario of how NotificationCommand functions:
. The user executes notification n/warning t/off. THe command is received by ExpenseTrackerParser.
-
A call to
NotificationCommand#parseis made, which creates aNotificationCommandDescriptorobject with the two extracted parameterswarningandoff. ANotificationCommandis returned toLogicManager.The n/suffix and parameter can be omitted. In this case, all types of notifications will be affected by the toggle. -
LogicManagerthen callsNotificationCommand#execute(), which callsNotificationHandler#toggleWarningNotifications()to setNotificationPanel#isWarningEnabledtofalse.If notification n/tip t/onwas executed,NotificationHandler#toggleTipNotifications()would be called to setNotificationHandler#isTipEnabledtotrue.If notification t/onwas executed,NotificationHandler#toggleBothNotifications()will be called instead to set bothNotificationHandler#isTipEnabledandNotificationPanel#isWarningEnabled.
The following sequence diagram shows the process of executing a NotificationCommand:

Design Considerations
Aspect: Storing of Tips
-
Alternative 1: Code the tips as a list of
Stringobject in a class.-
Pros: Easy to implement.
-
Cons: Changes to the list might impact the base code and testing results.
-
-
Alternative 2 (Current Choice): Read a set of predetermined tips from a JSON file.
-
Pros: Allows for easy configuration of tips that will not impact the base code.
-
Cons: More tedious to implement, as the given
JsonUtildoes not have a method to read an array from a JSON file.
-